
One of the reasons we’d chosen to sail to New Zealand was that, back in the developed world, we would have access to materials and professionals to take care of some of the issues that had cropped up over the past months of blissful cruising. Boats require work, and work requires parts and labor. As usual, the bulk of the labor would be ours.
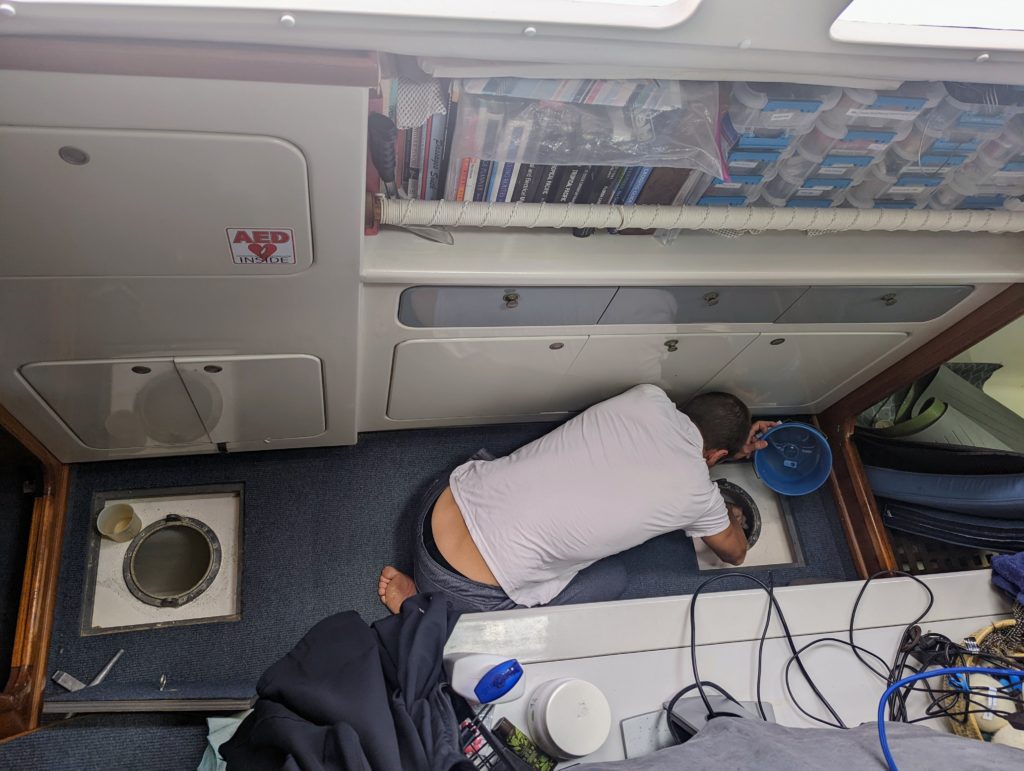
This included some basics, like cleaning the water tanks – a task that falls to Andrew because his arms are longer, that’s definitely the only reason.
We hadn’t had pump-out facilities available in quite a while, and when we went to empty our holding tank dockside, we were surprised to find the plate had firmly seized up. Not super surprising, since that part of the deck does get a bunch of salt. We gradually ratcheted up the level of effort into getting it open, from dual wrenches and WD-40 to the impact driver, and finally to drilling through it to insert a chisel for more leverage. When we put the new cap in, we made sure to give it plenty of grease.

We had been trying to find a suitable replacement VHF antenna for months, so it was a relief to just walk into the store and find the thing we needed on the shelf. We sent Jazz up the mast and popped the new one on, and suddenly the AIS could pick up boats that were 7 miles away! Twelve for the really big guys with their higher power transmitters! Very exciting, just in time for us not to do any more major offshore passages. Ah well. Also pictured: Andrew fixing a corroded wire in the windlass’s on switch.


Our main reason for doing all this work in the marina was that we finally had access to fiberglass experts who could do a better job with our shoulder repair. We had had this crack repaired in Colombia, only to have the adjacent areas split open a few months later as we left Panama; clearly there was deeper damage than we had originally thought. So we hired a boat builder to come do a proper repair. Here you can see it progress in stages, though of course we never took a “final” after photo.


Since he was going to have to make a bunch of trips to the boat and charge us for each one, we figured we’d get a little crack in the bathroom repaired at the same time. This ended up being slightly more complicated than expected, because to get a really solid bond, he wanted to install a brace in the back, which meant using the toilet paper dispenser to apply pressure. When the pro was about halfway through the serious fix, we realized that this was a great excuse to remove a stupid old button cover that no longer did anything, so Andrew did a little fiberglass patch between visits and we let the pro do the paint color match. (And while you have the epoxy out, you might as well do that hatch cover upgrade you’ve been meaning to get to… Amazing how these projects beget new projects.) It all worked out, though we wished that he’d put the colored epoxy on a little thicker, because when we went to smooth the rolled surface down, we rapidly found the next layer and stopped digging. The whole bathroom could probably use a repaint anyway though.


It’s maybe a little visible in the bathroom pictures: the probably-original hinges on the cabinet door started to give way. Getting a replacement in kind was just not going to happen, so we found the closest replacement we could at the local marine shop, and with a little help from epoxy to make a flat surface, we grafted the door back on. Did we take before-after pictures? Of course not, but here’s our shopping process.

The final epoxy-based project was another of ours; a dive boat had hit our boarding ladder and caused a bit of a crack. We were concerned about how bad the damage was, and whether it might be a water ingress point, so we took the ladder off and sanded it down. We were nervous, because we weren’t looking forward to trying to paint gelcoat right at the waterline if we needed e.g. to reinforce the fiberglass. Fortunately it turned out not to be too severe, and we were able to just spot repair the fiberglass and seal it with 5200. Sufficient for a few years, though if we’d been on the hard we would have done a more aggressive repair. Did we take progress pictures? Only right at the very beginning and end. Also note Villa’s disgusting bottom where all the paint had worn off; it was time for her to get a new bottom job, but we figured we’d leave that task to the new owners.


And speaking of repaint.. it was getting to be time for a new clear coat on the countertops. It turns out that Spreadstone really doesn’t like to have water sit on it, and if you can’t avoid this, the coating starts to break down and absorb stains. So we tracked down a supplier who would sell us more top coat, and sanded the grossness off of the kitchen and bathroom surfaces. This was mostly fine, although there were a few places where we started to see a dangerous amount of primer, and wished yet again that we’d put on more coats of stone the first time. If you put Spreadstone on anything, just add layers at each stage until all the paint is gone. So we did that this time with the top coat, and ended up with gorgeous countertops just like the first time. (Except unlike the first time, all of this happened while Captain was in quarantine, so we didn’t have to play nearly as much defense.) Re-doing the countertops also meant replacing the caulk, a relatively easy if concentration-heavy and time-consuming operation.


With these gorgeous shiny countertops, the rust on our aging oven grate started to look more eye-catching. We chipped off as much of the old paint as we could, treated it with a ton of Ospho, and painted it with a high-temperature Rustolum product made for sprays. It won’t last forever, but it looked way better!


Having fixed the fiberglass crack, we thought we had probably fixed the leak into the starboard closet. As we peeled back headliner to find the source, we realized that we also had a little bit of water coming through the chainplate. Yet another straightforward but annoying fix, peeling out all the old sealant and filling it back in with UV 4000 sealant, and doing our best not to get that tube of boat herpes everywhere.

Once we confirmed that we’d closed the leak, it was time to re-attach the headliner.
And once we started gluing in one place, we might as well go all the way around the boat. This “only” took a couple of full, miserable days, and it looked so much better that we were cranky at ourselves for not doing it sooner. Strong endorsement for ADOS F2 contact adhesive here, by the way; it bonded vinyl to polyurethane way better than the Gorilla and Loctite products we’d used before, with a conveniently fast time to go tacky. The only downside is that it’s not clear, so overpaint needs to be cleaned off; we found that taping made this pretty easy. We also used a 3M vinyl repair kit to patch a couple of holes. Color matching the aged off-white headliner was a huge pain, but once we got that done, the repairs were almost invisible.


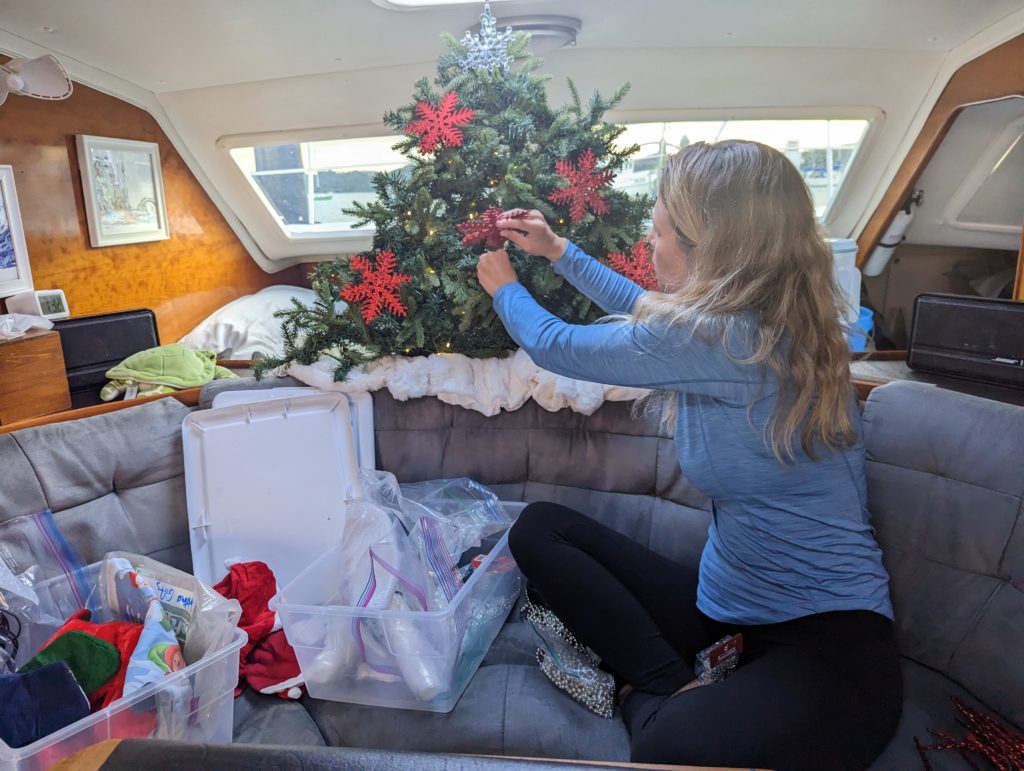
And that was that! We finished just a couple of days before Christmas, at which point Jazz finally decorated the tree that had been moving back and forth around the boat during the whole process.

Boat herpes lol
This makes me never want to get a boat… Ask your comments saying “relatively simple” or “not too bad”… 😅
*All, not Ask
That is a very reasonable take-away! Boats turn out to be an absolute ton of work.